- No products in the cart.
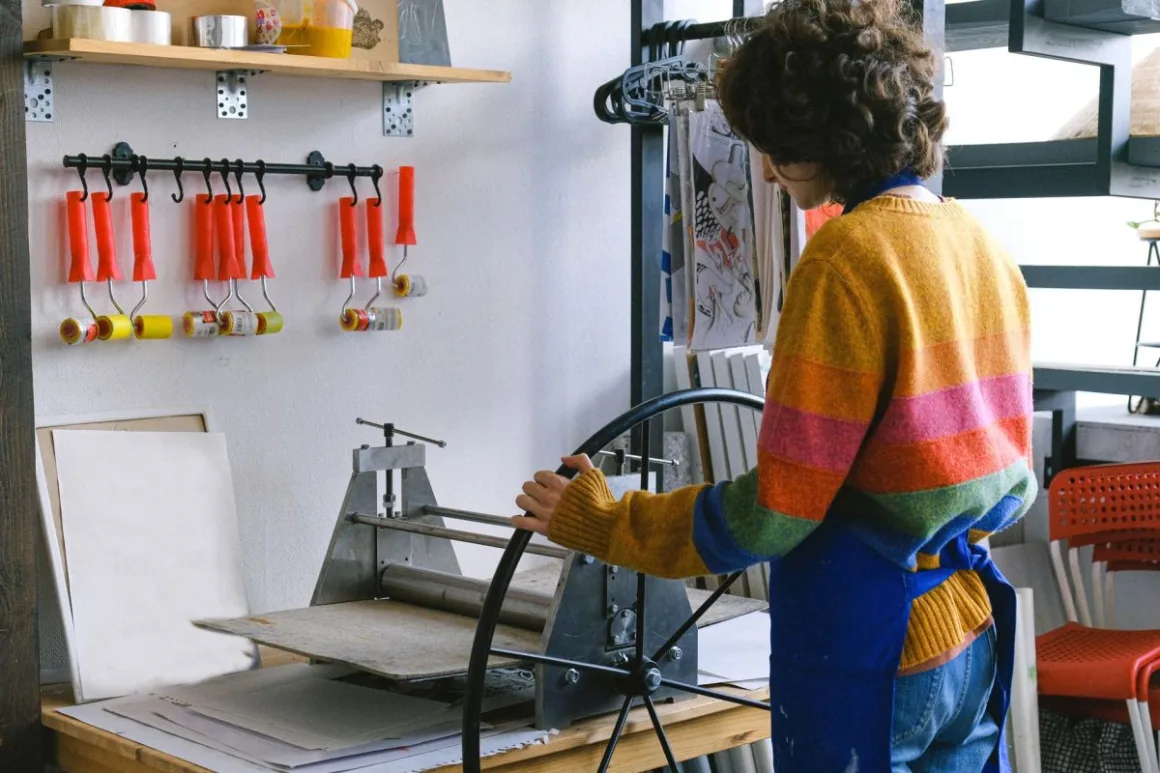
Sublimation printing is the closest thing the craft world has to magic: a dull, washed-out sheet of paper goes into a heat press, and sixty seconds later the colour has vanished from the paper and reappeared, permanently, inside a tumbler or a t-shirt.
It is also the process that wastes more blanks than any other, because almost everything about it is counter-intuitive the first few times.
This guide is for crafters who are either starting out or quietly frustrated. It covers what the process actually does, the kit that genuinely matters, twelve tips that prevent most failures, and an honest account of what sublimation printing cannot do.
What’s in this guide
- How sublimation printing actually works
- The kit you need (and what you don’t)
- 12 essential tips for flawless results
- Troubleshooting: fixing faded, ghosted and blotchy prints
- What sublimation printing can’t do
- Is it worth it for a small craft business?
- What sublimation printing costs to set up
- Sublimation printing vs DTF vs vinyl
- Scaling from hobby to business
- Sublimation printing FAQ
How sublimation printing actually works
Most printing sits on top of a surface. Vinyl is a layer stuck down. Screen printing is ink resting in the weave. Both can eventually crack, peel or fade because they are additions to the material.
Sublimation printing does something different. Under heat and pressure, solid dye converts straight to gas without becoming liquid: that phase change is what “sublimation” means. At the same moment, the polymer in your blank opens up microscopically. The gas moves into those open polymers, the press releases, everything cools, and the polymers close around the dye.
The image is now inside the material rather than on it. That is why a properly sublimated tumbler survives the dishwasher and a sublimated shirt has no texture where the print is: you cannot feel it, because there is nothing sitting on the surface to feel.
Two consequences follow from this, and they explain nearly every limitation you will run into.
First, you need polymers. Sublimation printing bonds to polyester and to polymer coatings. It will not bond to cotton, untreated wood, bare metal or plain ceramic. This is not a technique problem; the chemistry simply has nothing to grab.
Second, sublimation dye is translucent and there is no white. The colour you see is dye mixed with whatever is underneath. On a white blank, colours look correct. On a grey blank, everything shifts. On a black blank, nothing shows at all.
The kit you need (and what you don’t)
A sublimation printer
Two routes exist. Buy a dedicated sublimation printer such as those made by Sawgrass, which arrive configured with colour profiles built in. Or convert an Epson EcoTank by filling its tanks with sublimation ink from new.
The conversion route is considerably cheaper and extremely common among South African crafters. The catch: it is one-way. Once sublimation ink is in an EcoTank, it will never print normal documents again, and the warranty is gone.
A heat press, not an iron
This is the point where beginners try to economise and it never works. Sublimation printing needs consistent temperature across the whole surface and consistent pressure: a domestic iron delivers neither. It has hot spots, cold spots, steam holes, and pressure that varies with how hard you lean.
A flat press handles fabric, coasters and slate. Mugs and tumblers need their own curved press. There is no way around this.
Sublimation paper and the small stuff
Sublimation paper has a coating that holds the dye until it is released, then lets go of it cleanly. Ordinary paper holds onto the dye and delivers a muddy transfer.
Beyond that: heat-resistant tape to stop the paper shifting, butcher paper or plain copy paper to protect your press platen, heat-resistant gloves, and lint rollers. None of it is expensive and all of it prevents specific, annoying failures.
12 essential tips for flawless results
1. Mirror every image before printing
The transfer goes face-down onto the blank, so anything with text prints backwards unless you flip it first. Every crafter forgets this at least once. Build it into your pre-print checklist.
2. Judge nothing by the printed paper
Sublimation ink looks dull, chalky and slightly wrong on paper. That is normal: the colour only develops during the press. Do not adjust your file to make the paper look better, or your finished product will be badly oversaturated.
3. Pre-press your garments
Five to ten seconds in the press before you apply the transfer drives out moisture and flattens wrinkles. Moisture is the single most common cause of patchy colour and unwanted yellowing, and South African humidity in coastal areas makes this worse.
4. Check the polyester percentage
100% polyester gives the brightest, most durable results. A 65/35 blend gives a softer, faded, vintage-looking print, which can be a deliberate aesthetic, but only if you chose it. Below about 60% polyester the result is usually disappointing.
5. Store paper and blanks somewhere dry
Sublimation paper absorbs atmospheric moisture, and damp paper produces ghosting and colour shifts. Keep it sealed in its bag or in a lidded box, not lying open on a shelf.
6. Tape everything down
If the transfer shifts even a millimetre while the press is closing, you get a blurred double edge. Heat-resistant tape on at least two sides prevents this entirely. It costs almost nothing and saves whole blanks.
7. Use butcher paper above and below
Dye gasses out in all directions. Without a barrier, it stains your press platen, and that residue transfers onto the next item you press. Fresh protective paper for every press is standard practice.
8. Keep a written settings log
Every blank behaves differently. Record substrate, temperature, time and pressure for each successful press. Within a month you will have a reference table worth more than any generic chart online, because it is calibrated to your press.
9. Trust your blank supplier’s spec sheet first
Start from the supplier’s recommended settings rather than a number you saw in a video. Coatings vary between manufacturers, and the person who made the coating knows what it needs.
10. Test on the cheapest blank you own
New design, new substrate or new supplier means one test press before the batch. A wasted coaster costs a few rand. A wasted run of twenty tumblers does not.
11. Design at 300 DPI, in RGB
Work at 300 DPI at final printed size. A design printing 20cm wide needs roughly 2400 pixels. Keep files in RGB: sublimation printing workflows generally convert to their own colour space, and converting to CMYK yourself usually dulls the result.
12. Remove the transfer while it is still hot
Peel immediately after opening the press, in one smooth movement. Letting it cool in place, or peeling in hesitant stages, is a reliable way to get ghosting.
Troubleshooting: fixing faded, ghosted and blotchy prints
Almost every sublimation printing fault traces back to one of five variables: heat, time, pressure, moisture or movement.
| What you’re seeing | Most likely cause | What to change |
|---|---|---|
| Faded, washed-out colour | Not enough heat or time; low polyester content | Add 10°C or 10 seconds; check the blend |
| Blurred double image (ghosting) | Transfer shifted, or peeled too slowly | Tape it down; peel hot in one motion |
| Yellow or brown tinge | Too much heat or time: the fabric is scorching | Drop 10°C, shorten the press |
| Patchy, blotchy areas | Moisture, or uneven pressure | Pre-press; check for thick seams under the platen |
| Faint pressed outline around the design | Normal press mark on polyester | Use a larger sheet or a heat-press pillow |
| Colours wrong across the whole print | Missing or incorrect ICC profile | Install the profile for your ink and paper |
Change one variable at a time. Adjusting temperature and time together tells you nothing about which one mattered.
What sublimation printing can’t do
Being clear about the boundaries saves a great deal of money.
- Cotton. There are workarounds involving coating sprays and specialist films, but plain sublimation printing on cotton fades dramatically after a wash or two.
- Dark garments. No white ink exists in this process. A design on a navy shirt will be effectively invisible.
- True white in a design. White areas are simply unprinted blank. On anything that is not white, those areas show the substrate colour.
- Uncoated hard goods. Bare metal, plain ceramic and untreated wood have nothing for the dye to bond with.
When a job needs dark cotton, DTF or screen printing is the correct answer. Choosing the right process for the job is a professional skill, not an admission of defeat.
Is it worth it for a small craft business?
Sublimation printing suits some businesses beautifully and suits others badly.
It works well if you sell personalised one-offs, if your customers want photographs and full-colour artwork, and if you are willing to hold stock of blanks. There are no setup screens and no minimum order, so a single personalised mug is just as viable as fifty.
It works badly if your market wants dark cotton t-shirts, if you cannot store blanks, or if you need large flat-colour runs: screen printing beats it comfortably on cost at volume.
The honest financial picture: entry costs are moderate, consumables are cheap, and margins on coated hard goods are genuinely good. The real investment is the twenty or thirty blanks you will ruin while learning. Budget for those deliberately and treat them as training, because you will spend them either way.
A sensible starting point is to master one substrate completely before adding a second. Crafters who buy tumblers, mugs, keyrings, coasters and shirts in the first month usually end up mediocre at all five.
What sublimation printing costs to set up
Published prices go stale fast, so rather than quoting rands that will be wrong in six months, here is what actually drives the cost and where the money genuinely goes.
| Item | Relative cost | What you are really paying for |
|---|---|---|
| Converted EcoTank printer | Low | Cheapest entry. No built-in colour management, no warranty once converted. |
| Dedicated sublimation printer | High | Colour profiles, support, consistency. Pays back if you print daily. |
| Flat heat press | Medium-high | Even heat and repeatable pressure. The single most important purchase. |
| Mug or tumbler press | Medium | Curved platens. Required separately if you want drinkware. |
| Sublimation ink | Low, recurring | Cost per print is genuinely small. This is not where your money goes. |
| Sublimation paper | Low, recurring | Buy decent paper; cheap paper causes faults you will blame on the press. |
| Blanks | Variable, recurring | Your real working capital. Buy narrow and deep, not wide and shallow. |
The counter-intuitive part: consumables are cheap and equipment is expensive, which is the opposite of most craft processes. That shapes the right strategy. Once you own the press, the marginal cost of another print is small, so volume is what makes sublimation printing profitable.
The cost nobody budgets for
Ruined blanks during learning. Twenty to thirty is realistic across your first few substrates. Crafters who treat this as failure tend to give up around blank number eight; crafters who treat it as tuition carry on and get good.
Sublimation printing vs DTF vs vinyl: choosing per job
Serious craft businesses rarely use one method for everything. They pick per job, and knowing when not to use sublimation printing is what keeps customers happy.
| The job | Best method | Why |
|---|---|---|
| Photo on a white polyester shirt | Sublimation | Full colour, permanent, no hand feel |
| Logo on a black cotton hoodie | DTF | White underbase; works on cotton and dark colours |
| Names and numbers on team kit | Vinyl | Fast, cheap, crisp for simple shapes |
| 200 shirts, two flat colours | Screen printing | Cost per unit drops sharply at volume |
| Personalised mug or tumbler | Sublimation | Nothing else survives a dishwasher as well |
| Coated keyrings and coasters | Sublimation | Vivid colour, no minimum order |
A useful habit: when an enquiry arrives, decide the method before quoting. Quoting a sublimation printing price and then discovering the customer wants dark cotton is an awkward conversation you can avoid entirely.
Scaling sublimation printing from hobby to business
The jump from making things you like to running a production process trips up a lot of crafters. Four habits make the difference.
Standardise before you diversify
Pick three or four products and make them repeatedly until the process is boring. Predictable output is what lets you quote confidently and promise delivery dates you can keep.
Batch your presses
Heating and cooling a press is dead time. Pressing eight tumblers in sequence is dramatically more efficient than pressing one on Monday and another on Thursday. Group orders by substrate and press them together.
Photograph everything you make
Every finished piece is free marketing material, and you will never have that exact personalised item again once it ships. A neutral background and window light is enough. Crafters who build a photo library early find selling much easier later.
Know your real capacity
Time one full cycle honestly: design, print, press, cool, pack. Multiply by the orders you are considering accepting. Sublimation printing is quick per unit but not instant, and the fastest way to damage a young craft business is promising a December volume your press cannot physically deliver.
Charge for the setup, not just the item
A one-off personalised piece carries design time, a test press and packing. Crafters who price only the blank plus ink slowly work themselves into exhaustion. Build the human time into the price from day one, and see our guide to pricing handmade products for the formulas.
Sublimation printing FAQ
Can you do sublimation printing on cotton?
Not reliably. Sublimation dye bonds to polymers, and cotton has none, so the image fades badly within a wash or two. Coating sprays and specialist films exist as workarounds, but for cotton the honest answer is to use DTF or screen printing instead.
Why does my print look faded compared to the screen?
Usually one of three things: not enough time or heat in the press, a garment with too little polyester, or a missing ICC colour profile. Work through them one at a time rather than changing everything at once.
Do I need an expensive printer to start?
No. Most South African crafters begin with a converted EcoTank, which produces perfectly saleable work. The heat press is the purchase worth spending properly on, because uneven heat and pressure cause faults no printer can compensate for.
Is sublimation printing permanent?
Yes, when done correctly. The dye sits inside the polymer rather than on top of it, so there is nothing to crack or peel. A correctly pressed tumbler is dishwasher-safe and a correctly pressed shirt has no raised texture at all.
What temperature and time should I use?
It depends entirely on the substrate, and the blank supplier is the right source. Start from their spec sheet, press one test item, and log the settings that worked. Generic numbers from the internet are a starting guess, not an answer.
How long before I am producing sellable work?
Most crafters get a consistently good result on their first substrate within twenty to thirty attempts. Treat those as training costs, work on one substrate at a time, and the learning curve is much shorter than it feels at blank number five.
Where to go next
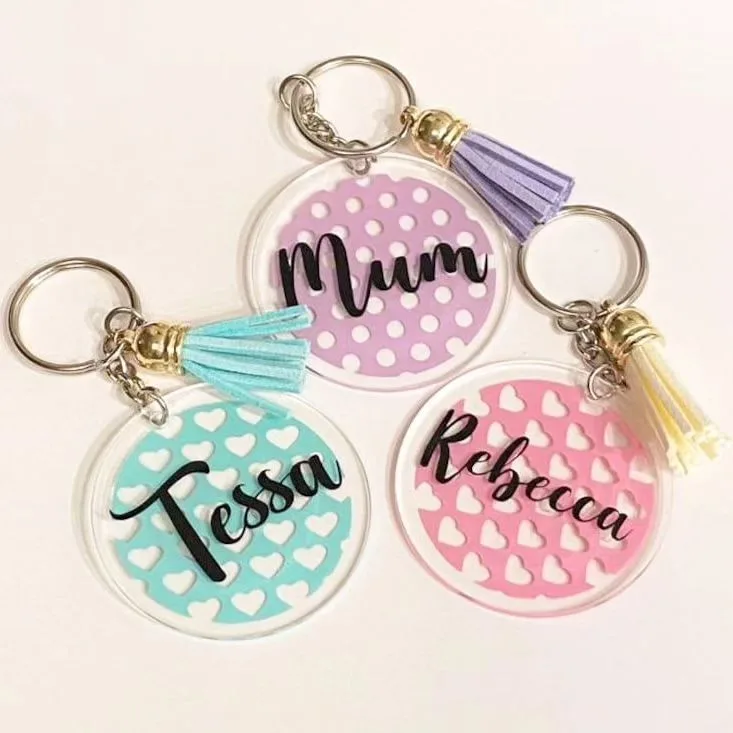
If you would rather see finished results before investing in equipment, our customisable items range is largely produced with the process described here: insulated tumblers, acrylic keyrings and phone card holders are all sublimated onto coated blanks.
And if you are building a craft business rather than a hobby, the numbers matter as much as the technique. Getting your pricing right from the beginning is what turns a room full of equipment into an actual income.
Make it personal
Every item in our range can be customised with your own photo, name or message, printed and finished in-house and delivered anywhere in South Africa.