- No products in the cart.
Custom t-shirt printing looks simple from the outside. Pick a design, pick a shirt, place an order. Then the first run arrives and something is wrong: the colours are duller than the screen, half the shirts are a size nobody wants, or the maths says you will make R14 per unit.
Most first runs fail on logistics rather than design. This guide covers the nine decisions that determine whether your run works, in the order you actually need to make them.
What’s in this guide
- Step 1: Decide what you’re really selling
- Step 2: Choose the print method first
- Step 3: Choose the garment properly
- Step 4: Get the artwork print-ready
- Step 5: Get placement and sizing right
- Step 6: Size the run honestly
- Step 7: Approve a physical sample
- Step 8: Price for a real margin
- What custom t-shirt printing costs
- Print care and customer guidance
- 7 mistakes that ruin a first run
- Choosing a printer you can rely on
- A realistic first-run timeline
- Beyond t-shirts: where the margin is
- Custom t-shirt printing FAQ
- Step 9: Sell before you reprint
Step 1: Decide what you’re really selling
Three businesses look identical from outside and behave completely differently.
- A brand. Your own designs, your own point of view, repeat customers. Hardest, slowest, highest ceiling.
- Merch. You already have an audience: a church, a gym, a band, a school, a YouTube channel. Demand is far easier to predict.
- Print on demand. Nothing is made until it sells. Lowest risk, thinnest margin, slowest delivery.
Most people starting out are in the second category and would do better admitting it. Merch built on an existing audience is the single most reliable route into apparel, because you are not simultaneously building a brand and finding people for it.
The honest first-run size
Twenty to thirty units, one design, one garment colour, three sizes. That tells you nearly everything a run of two hundred would, at a tenth of the risk, and you can spend what you learn instead of what you lost.
Step 2: Choose the print method first
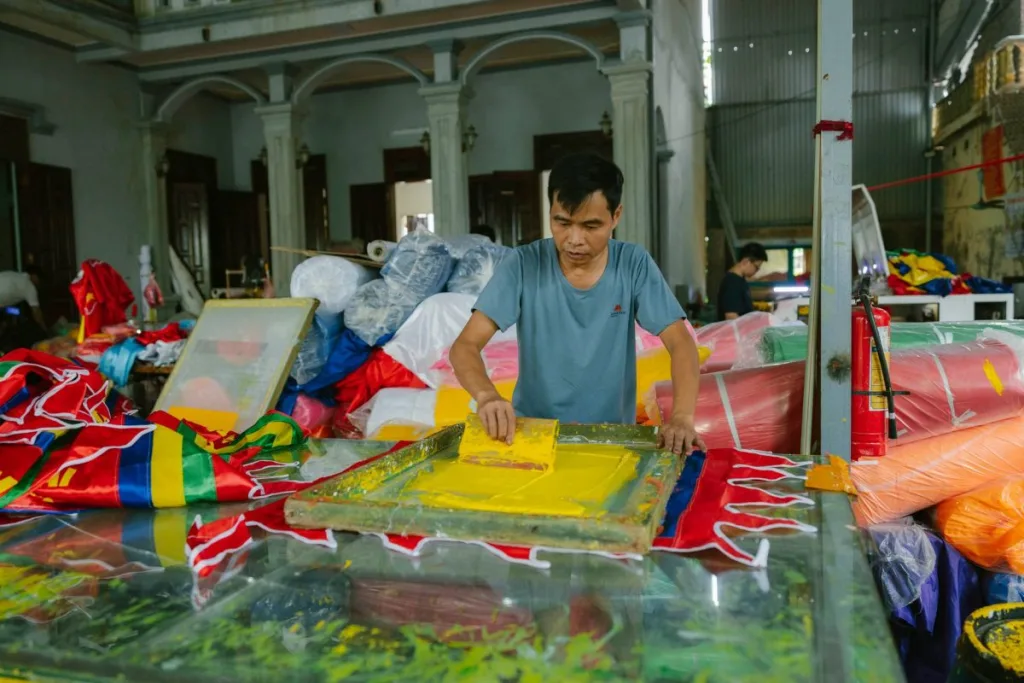
This is the step people skip, and it is expensive to skip. Artwork should be designed for the process that will produce it, not the other way round.
| Method | Best for | Watch out for |
|---|---|---|
| Screen printing | 1–4 flat colours, runs of 50+ | Setup cost per colour makes small runs expensive |
| DTF (direct to film) | Full colour, photos, small runs, dark garments | Sits as a layer; big solid blocks can feel stiff |
| Sublimation | All-over prints, vivid colour on white polyester | Will not work on cotton or dark fabric at all |
| Vinyl (HTV) | Names, numbers, simple shapes, one-offs | Poor for fine detail and gradients |
| DTG (direct to garment) | Photographic prints on cotton, no minimum | Softer colour on dark garments; cost per unit stays flat |
The practical rules: photographs or gradients mean DTF or DTG. Two flat colours at 100+ units means screen printing wins on cost. Names on ten shirts means vinyl. And if someone tells you sublimation will work on a black cotton tee, they are mistaken: our guide to sublimation printing explains why the chemistry makes that impossible.
Step 3: Choose the garment properly
The blank matters more than beginners expect. A brilliant print on a thin, badly-cut shirt still produces a shirt nobody wears.
Fabric weight
Measured in GSM. Around 150–160gsm is light and summer-appropriate but can be semi-transparent. 180–200gsm is the sweet spot for most South African conditions. Above 200gsm feels premium but is warm for Highveld summers.
Fabric composition
100% combed cotton takes DTG and screen printing beautifully and feels best. Poly-cotton blends resist shrinking and hold shape longer. 100% polyester is required for sublimation and standard for sportswear.
Cut
Ask whether the blank is a classic boxy fit or a modern fitted cut, and whether “unisex” in this range actually fits women well. Order one of each before committing: cut is the most common reason customers do not reorder.
Step 4: Get the artwork print-ready
Three faults account for most reprints in custom t-shirt printing.
Resolution
Print needs roughly 300 DPI at final printed size. A design printing 25cm wide needs about 3,000 pixels across. Images pulled from a website are typically 72 DPI and will look soft on fabric: upscaling cannot invent detail that was never captured.
Transparent backgrounds
Save as PNG with genuine transparency, not a white rectangle. On a black shirt a white box around your logo is instantly visible and instantly amateur.
Colour expectations
Screens emit light; fabric reflects it. Bright saturated blues and neon greens are the usual casualties: electric on a laptop, noticeably duller on cotton. If an exact colour matters, specify a Pantone reference and ask for a sample.
Step 5: Get placement and sizing right
Designs that look correct in a design file frequently look wrong on a body.
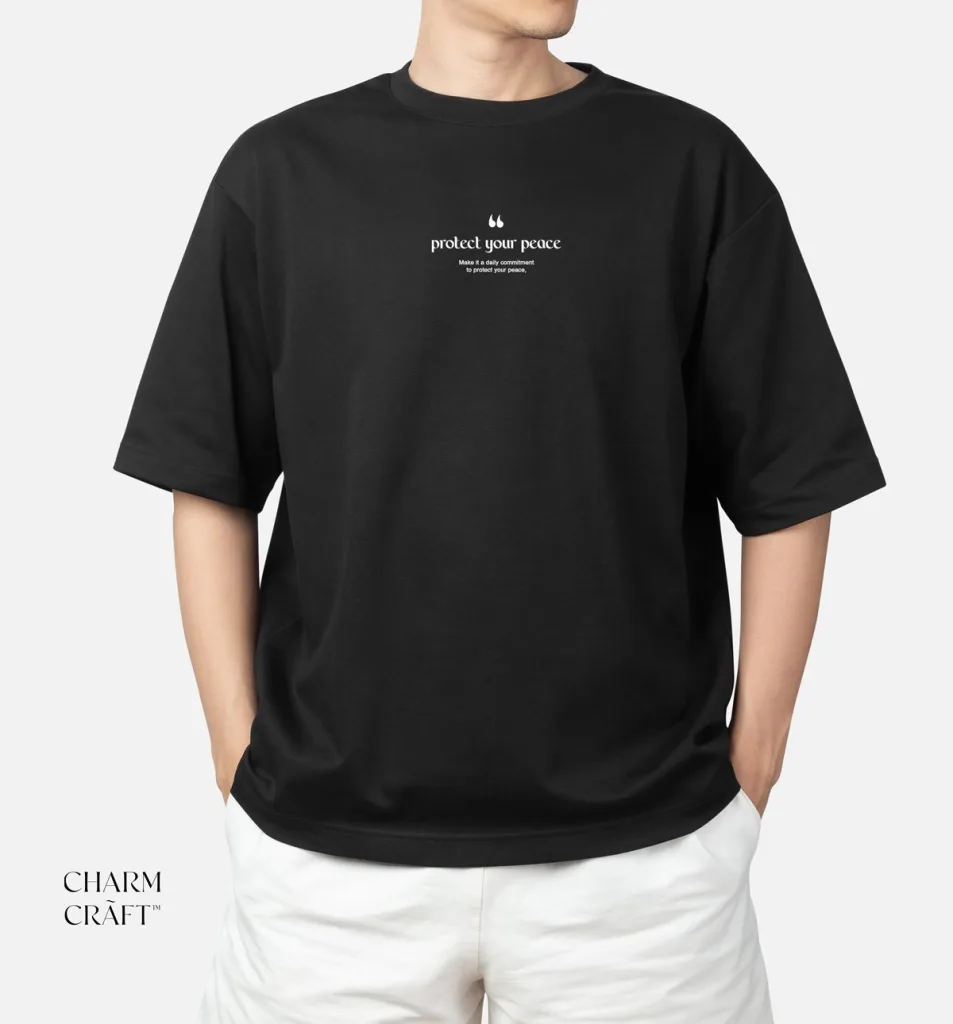
- Standard front print: roughly 25–28cm wide on an adult shirt, top edge about 7–8cm below the collar seam.
- Left chest: around 8–10cm wide, positioned roughly 18–20cm from the shoulder seam.
- Back print: can go wider, up to about 30cm.
Two things beginners get wrong. First, the print does not scale with the garment unless you ask: a design sized for XL looks enormous on a small. Second, printing too close to the collar looks cramped; when in doubt, drop it a centimetre.
Step 6: Size the run honestly
A workable size distribution for a general South African adult run:
| Size | Share of run | Out of 30 units |
|---|---|---|
| Small | 10% | 3 |
| Medium | 25% | 7 |
| Large | 30% | 9 |
| XL | 22% | 7 |
| 2XL | 13% | 4 |
Adjust for your actual audience: a running club skews smaller, a rugby club skews larger. But never order a flat five-of-each. That is precisely how you end up with dead stock at the extremes and sell out of large in a week.
Step 7: Approve a physical sample
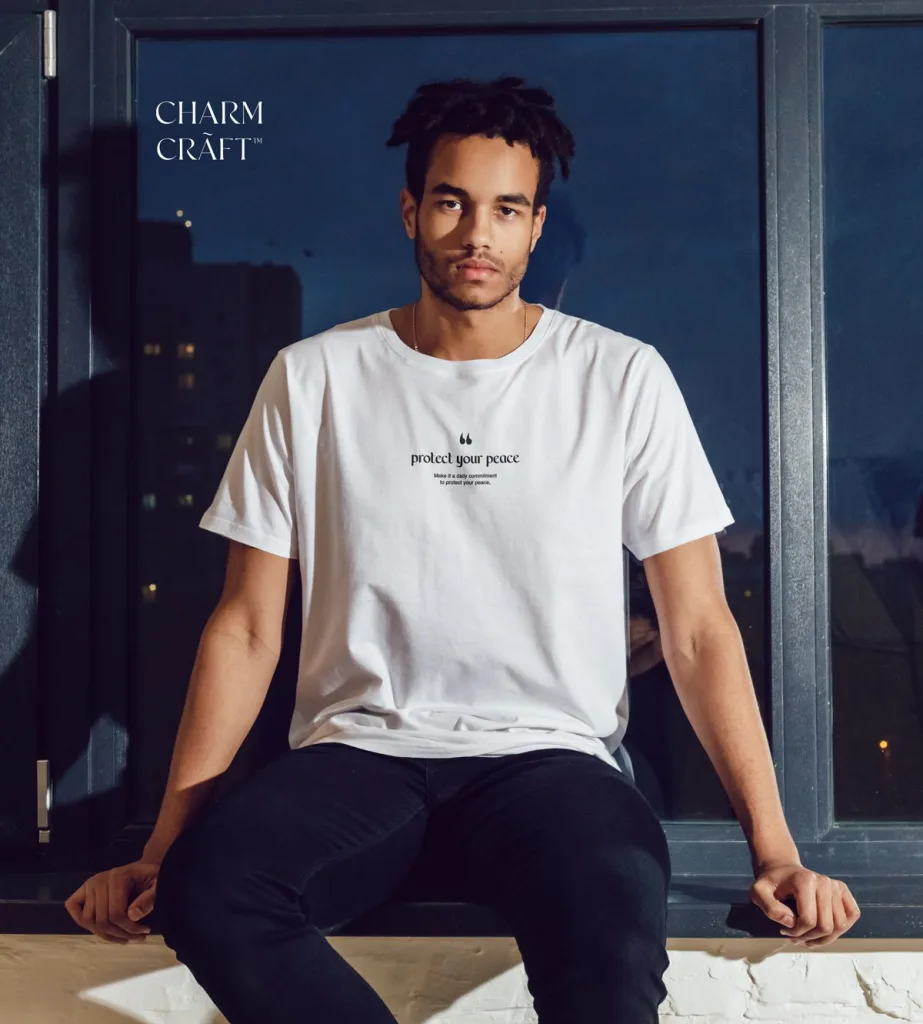
One printed shirt, in your hands, before the run. Every professional printer expects this request and it is the cheapest insurance available in custom t-shirt printing.
What to check: colour against your expectation, print size against a shirt you already own, placement height, how the print feels, and the garment cut and weight. Wash it once before approving if you have time: that reveals cracking or fading that a fresh press hides.
Step 8: Price for a real margin
Your cost is not the printed shirt. Count all of it:
- Blank garment plus printing
- Artwork or screen setup fees
- Delivery to you
- Packaging, labels, hang tags
- Outbound shipping you absorb
- Payment gateway fees
- Samples, giveaways and damaged units
A common approach is 2.2 to 2.5 times all-in unit cost for direct sales. If you ever want a shop to stock you, they need roughly a 50% margin, so your retail must be about four times your cost, built in from the start. Our guide to pricing handmade products works through the formulas properly.
What custom t-shirt printing actually costs
Printed prices go stale quickly, so rather than quoting rands, here is the structure of the cost and where it moves.
| Cost element | How it behaves | What this means for you |
|---|---|---|
| Blank garment | Fixed per unit | Better blanks cost more but reduce returns and complaints |
| Screen setup | One-off per colour | Kills small runs; irrelevant at 200 units |
| DTF / DTG print | Fixed per unit, no setup | Ideal for small runs; never gets cheaper at volume |
| Vinyl | Per unit, labour-heavy | Cheap for a few, slow and costly for many |
| Artwork prep | One-off | Charge for it if you are doing it for a client |
The single most useful thing to understand about custom t-shirt printing economics: screen printing has a high floor and a low ceiling, while DTF and DTG have no floor and no ceiling. Below roughly 40 units, digital methods almost always win. Above roughly 100, screen printing usually does. The crossover point is where you should ask for both quotes.
The costs people forget
- Sample units. You should be buying two or three before every run.
- Reprints. Budget for one or two failures per run in your first year.
- Storage. Unsold stock occupies space and cash simultaneously.
- Your own time. Design, admin, packing and courier drop-offs are real hours.
Print care, and what to tell customers
Most complaints about custom t-shirt printing are actually washing problems, and they are almost entirely preventable with a card in the bag.
The standard guidance worth printing: wash inside out, cold water, no bleach, no tumble drying, and never iron directly onto the print. For DTF and vinyl in particular, a hot iron straight onto the design will ruin it in seconds.
Including a small care card costs very little and measurably reduces the number of customers who conclude the print was faulty when it was simply tumble-dried on high.
Step 9: Sell before you reprint
The discipline that separates brands that survive: reorder on sell-through, not on optimism. If thirty units take four months to move, the answer is not a hundred more in new colours. It is working out why.
Pre-orders help enormously. Taking orders before printing turns your run size into a fact rather than a guess, and converts stock risk into a delivery-time conversation, which is a much easier problem to manage.
7 mistakes that ruin a first run
1. Designing before choosing the method
A four-colour gradient design becomes expensive the moment you decide on screen printing. Pick the process, then design within it.
2. Ordering every size equally
Flat distribution guarantees dead stock at both ends. Weight toward medium, large and XL.
3. Skipping the sample
The most expensive corner anyone cuts in custom t-shirt printing. One sample costs the price of one shirt; a bad run costs the price of all of them.
4. Choosing the cheapest blank available
The saving is small and the consequence is a shirt that shrinks, thins or twists after three washes. Customers blame the brand, not the blank.
5. Printing too large
Beginners consistently oversize front prints. A 30cm design on a medium looks like a costume. Measure against a shirt you already own and like.
6. Forgetting the mockup for approval
If you are printing for a client, get written sign-off on a mockup showing size and placement, not just the artwork. “I thought it would be smaller” is a conversation worth preventing.
7. Pricing off the invoice
The printer’s invoice is one input, not your cost. Packaging, shipping, fees and your time all sit on top.
How to choose a printer you can rely on
The supplier relationship matters more than most first-timers expect. A printer who answers questions honestly will save you more money than a slightly cheaper quote.
Ask what they actually run in-house
Many suppliers advertise every method and outsource most of them. That is not disqualifying, but it lengthens turnaround and makes problems harder to fix. Ask directly which processes happen on their own premises.
Ask to see a physical sample of their work
Not a photograph. Print quality is a tactile thing, and photographs flatter everything. A printer confident in their output will happily show you a real garment.
Ask about their reprint policy before you order
What happens if the colour is wrong, the placement drifts, or three units come out faulty? Establishing this while everyone is cheerful is far easier than negotiating it during a dispute.
Ask what file format they want
A printer who gives you a clear spec, covering format, resolution, colour mode and bleed, is a printer who has done this properly before. Vagueness here is a warning sign.
Start small deliberately
Place a small first order even if you intend to scale. How a supplier handles thirty units tells you exactly how they will handle three hundred, at a fraction of the exposure.
A realistic first-run timeline
Custom t-shirt printing is not instant, and compressed timelines are where mistakes enter.
| Stage | Allow |
|---|---|
| Finalising artwork | 2–5 days |
| Quote and blank stock confirmation | 1–3 days |
| Sample production and delivery | 3–7 days |
| Your review and approval | 1–2 days |
| Main run production | 4–10 days |
| Delivery to you | 2–4 days |
That is roughly three to four weeks end to end for a first run done properly. If you are printing for an event, work backwards from the date and add a week of slack. The most common cause of a rushed, disappointing run is a deadline set before anyone checked the production calendar.
Custom t-shirt printing FAQ
What is the cheapest way to print t-shirts in South Africa?
It depends entirely on quantity. Below about 40 units, DTF or DTG will be cheapest because there is no setup cost. Above about 100 units with a simple design, screen printing wins comfortably. Get both quotes at the crossover.
How many shirts should I order for a first run?
Twenty to thirty, one design, one colour, three sizes weighted toward M, L and XL. It is enough to learn from and small enough to survive if the design does not sell.
What resolution do I need for custom t-shirt printing?
Roughly 300 DPI at the final printed size, saved as a PNG with a transparent background. For a print 25cm wide that means about 3,000 pixels across.
Can I print photographs on a t-shirt?
Yes, using DTF or DTG. Screen printing handles flat colours rather than photographs, and sublimation will only work on white or very light polyester.
Will the print crack or peel?
Properly applied DTF and screen prints last for years with correct washing. Cracking is usually caused by tumble drying on high heat or ironing directly onto the design. A care card prevents most of it.
Do I need to register a business to sell t-shirts?
You can trade as a sole proprietor while testing. Registering a company through the CIPC makes sense once the idea is proven, and VAT registration becomes compulsory above the turnover threshold published by SARS.
Beyond t-shirts: where the margin usually is
Most people enter apparel through t-shirts because they are familiar. They are also the most competitive, lowest-margin item in the category.
Once your custom t-shirt printing process is reliable, the same artwork and much of the same equipment extends to items where buyers are considerably less price-sensitive.
- Hoodies and sweatshirts. Higher price point, better margin, and the same print methods. Winter demand in South Africa is strong and under-served.
- Caps and beanies. Small print area, quick to produce, popular for teams and events.
- Tote bags and aprons. Cheap blanks, high perceived value, no sizing problem at all.
- Hard goods. Tumblers, keyrings and coasters carry the best margins of anything discussed here, and there is no size distribution to guess at.
That last point deserves emphasis. Sizing is the single biggest source of dead stock in apparel. Items with no sizes at all remove that risk entirely, which is why many makers who start with shirts end up making most of their money elsewhere.
A sensible progression
Get one t-shirt design selling reliably. Add a hoodie in the same design for winter. Add one non-apparel item that needs no sizing. That sequence builds a product range without multiplying your stock risk.
Where to go next
To test a design without committing to a run, our design-your-own custom t-shirt and unisex hoodie both let you upload artwork and see it placed before ordering a single unit. The wider branded apparel range shows what finished results look like.
Make it personal
Every item in our range can be customised with your own photo, name or message, printed and finished in-house and delivered anywhere in South Africa.